Embroidery Special FX (Effects) May 17
Watch: 
Embroidered Paper Technique
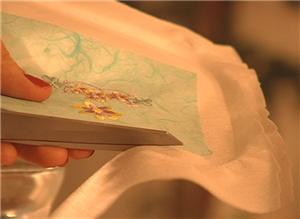
Embroidery on paper is fun, and it's surprisingly easy. Just keep paper's fragility in mind as you sew. Here are some tips for making successfully embroidered paper.
1:
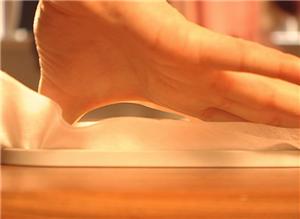
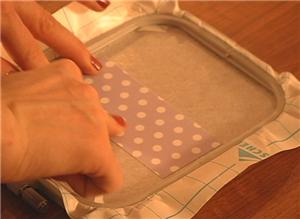
You will need to use a stabilizer when you stitch paper. This is mainly because you won't actually hoop the paper (that would wrinkle or tear it). The stabilizer will be the hooped foundation, and the paper goes on top of it.
2:
Generally speaking, you will expect your stabilizer to become part of the finished project; tearing stabilizer away from embroidered paper is not recommended because it is very difficult to tear the stabilizer without tearing the paper.

3:
You can use different types of stabilizer for different techniques with paper. Suit the stabilizer to the density of the embroidery; a light redwork design will do fine on a light tearaway stabilizer. Denser designs will require a heavier stabilizer like a cutaway.
4:
You will also find that you get the best results when you suit your embroidery designs to the paper - an ordinary cardstock will be fine for light density and outline designs, but an art paper with lots of long fibers in it will work better with denser designs. Now let's look at some basic choices for embroidery paper.
5:
Kiwi paper is a relative newcomer to the scene, and it is the most stable paper for embroidery. In fact, when you hold Kiwi paper for the first time, you'll notice that it feels a little bit like cardstock, and a little bit like fabric. If you are going to stitch something really dense on paper, reach for the Kiwi paper. Another benefit of using Kiwi paper is that you can usually remove adhesive stabilizer without ruining the Kiwi paper. Most papers are not strong enough for that to work.
6:
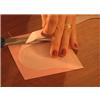
Mulberry paper is a tissue-like paper with surprising strength. You can see the long fibers in the mulberry paper that make it well suited to embroidery. I've even tried hooping the mulberry paper. It got wrinkled, but it didn't tear!
7:
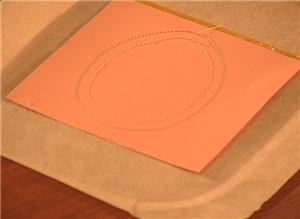
Ordinary cardstock is easy to come by, and will work for light density and outline types of designs. This paper is also the easiest to accidentally perforate, so I suggest you stick with light density designs on cardstock.
8:
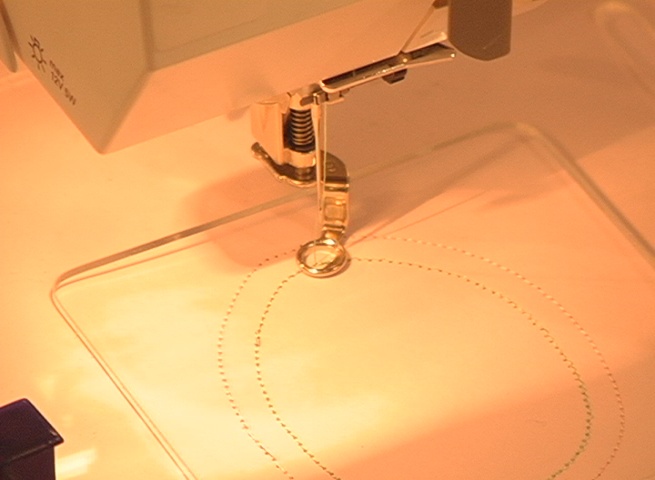
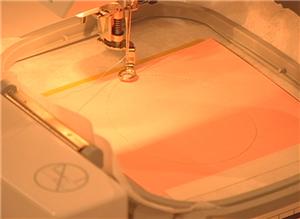
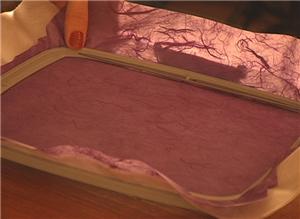
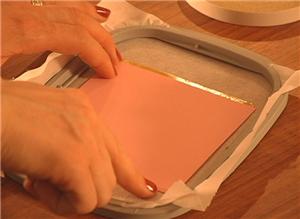
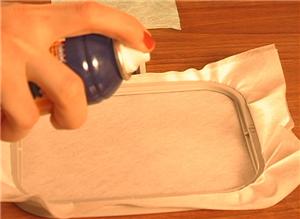
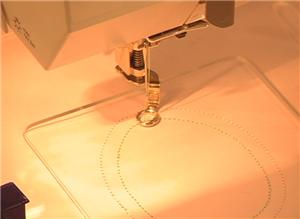
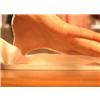
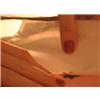
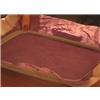
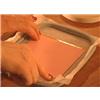
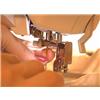
Now that we've discussed the stabilizer and the paper you might use, let's put them together! Plan to embroider on paper that fits within your embroidery hoop. Larger paper will need to bend over the hoop, and that may cause distortion to the embroidery or result in a wrinkled or creased paper. You begin by hooping the stabilizer of course, and then you need to attach the paper to the stabilizer. There are a few ways you might do this.
9:
You could use tape around the outside edges of the paper. With this method, plan to trim away the taped edges of paper later on.
10:
Another method is to use a spray adhesive. Make sure you use an embroidery-safe adhesive like 505. When you use this method, the paper is adhered to the stabilizer, so be aware that you may not be able to remove the stabilizer from any part of the paper without risking damage to the paper.
11:
Similarly, you might use a sticky stabilizer like Film-o-Plast. Like using a spray adhesive, it's clear that with this method, you may not be able to remove the stabilizer from any part of the paper without tearing the embroidered paper.
12:
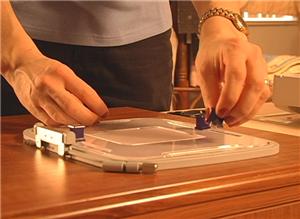
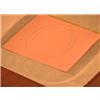
Finally, the Magna-Hoop allows you to keep the paper against the stabilizer without using tape or adhesive. In fact, with a simple outline design, you can sidestep using stabilizer altogether if you are using a strong paper. Cut it to fit the magna-hoop's acrylic insert shape. Basically this trick uses your heavy paper in place of stabilizer, and the magna-hoop doesn't wrinkle the paper.
13:
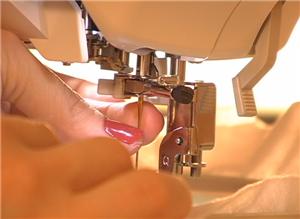
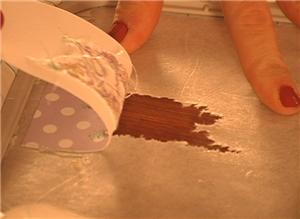
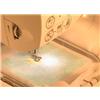
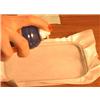
Now that you're ready to stitch, make sure you have the right needle for stitching on paper. When you stitch on paper, always use a sharp pointed needle, rather than a ball-point. 75/11 is a good needle size for paper embroidery. Also remember to change your needle before you begin your next project; paper stitching does dull needles in a hurry.
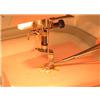
14:
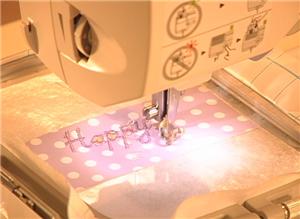
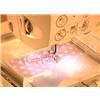
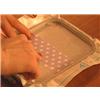
Go ahead and stitch the paper. If your machine has speeds in excess of 800 stitches per minute, you might experiment with stitching at one of the slower speeds on paper; if you have any embroidery accidents that could destroy the paper, you have more time to catch and fix them at a slower speed. Stay near, watch the process, and you'll be rewarded with beautiful results.
15:
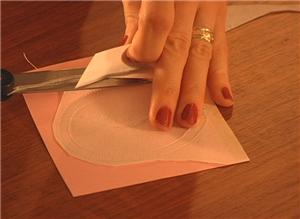
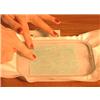
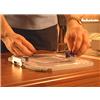
When the embroidery is finished, cut the stabilizer to match the size and shape of the paper.
16:
If you used tape or the Magna-hoop to attach the paper to the stabilizer, you can probably also peel the stabilizer back a little bit and trim it smaller than the embroidered paper or card stock. This might be desirable for gluing edges of the paper; it keeps the stabilizer from interfering with the bond.
17:
And if you used Kiwi Paper, you will be able to remove the stabilizer without damaging your embroidery.
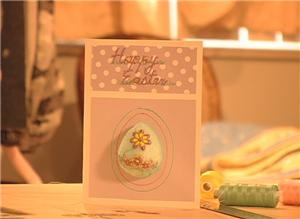
18:
Embroidery can become part of a scrapbooks, greeting cards, and even decoupage projects when you create beautiful embroidery on paper. See our related projects for examples!


 Spring flower head - smaller
 Three Spring flowers
 Smaller Egg for Tucked Reverse Applique
 Girl with Small Bouquet (Redwork)
 505 Spray & Fix Temporary Fabric Adhesive
 Commercial Embroidery Needles (11/75 Sharp)
 Video Showcase: Series 3
 Embroidered Vinyl Bookmarks
 Dimensional Embroidered Topiary
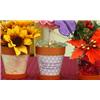 Planter's Flower Pot Tutorial
 Embroidered Thank You Cards
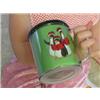 Penguin Mug
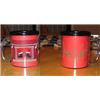 Santa Chimney Mug
 Embroidered Candy Bar Wrapper
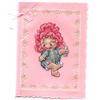 Rose Baby Card
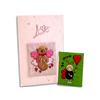 Valentine's Embroidered Cards
 Embroidery on Toilet Paper
 Printing Production Sheets
 Over the Hoop 1
 Easter Egg Card Project
 Dimensional Topiary Video