Embroidery Special FX (Effects) May 17
Watch: 
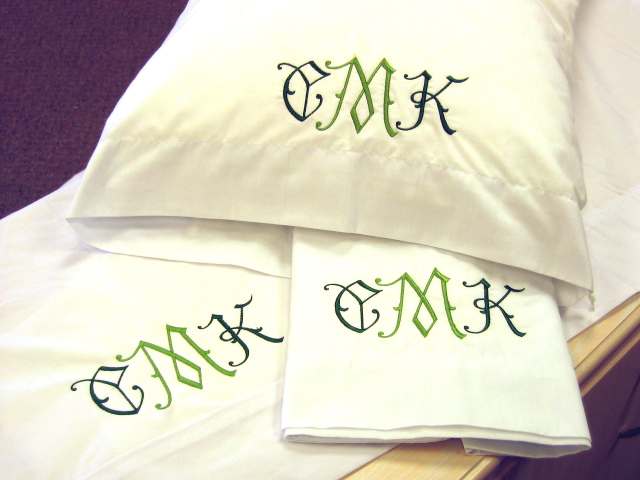
Monogrammed Linens
Monogramming is an elegant embroidery tradition, suited to a variety of occasions. This tutorial gives tips and directions for manually creating a monogram layout.
1:
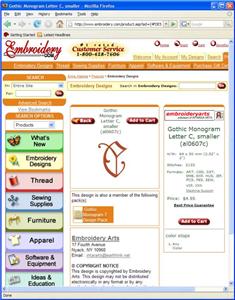
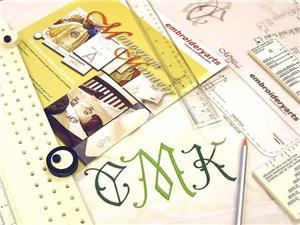
When you select a monogram style, I suggest that you particularly look at the letters you’ll be using for your project. Ask yourself, “Do I like the look of the “C” in this style?” This can help you narrow your focus. Another thing to consider is the size -- for a large monogramming project like sheets and pillowcases, a large set of letters – two to four inches tall -- is preferable. If you would like some guidance, I suggest The Monogram Manager kit by Embroideryarts, which I’m using today. It includes size recommendations and instruction for a variety of applications.

2:
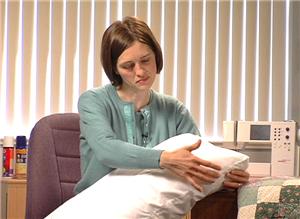
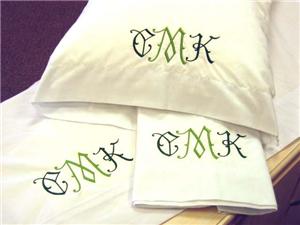
In this project, I’m embroidering a sheet and pillowcase set. When you embroider a pillowcase, you want the finished pillow to sit with the seam toward the bed, rather than toward the ceiling. Keep that in mind when you mark the embroidery location.

3:
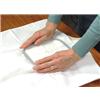
When you embroider a sheet, fold it so that you won’t need to keep track of yards of fabric in addition to the embroidery area.
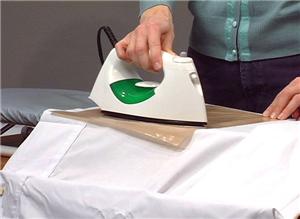
4:
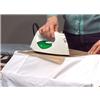
You may also find that ironing the linens makes them easier to work with.
5:
The wedding couple I’m embroidering for prefers a traditional three-letter monogram: Karen is taking Collin’s last name. The shared last initial goes in the center, and is larger than the first name initials. It’s most common to place the groom’s initial on the left and the bride’s initial on the right. The Embroideryarts company has created a guide for monogram usage in less traditional monogram situations. You’ll find it listed under the resources section of this project.
6:
How far apart from each other you place the letters of the monogram is usually a matter of personal preference. If you have embroidery software that allows you to combine multiple design files, you can create your monogram on-screen, using the software grid or guidelines to keep all the letters aligned. Then save the entire monogram as one design file.
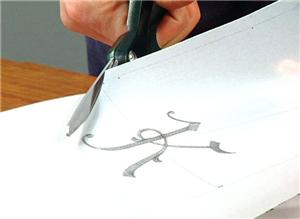
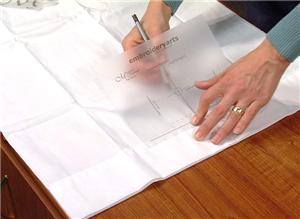
7:
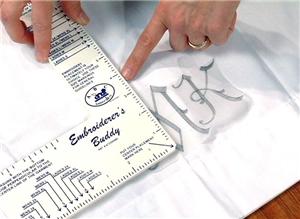
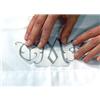
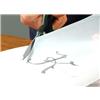
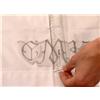
When you embroider large letters, you may find that you need to hoop each letter separately for embroidery. In that case, creating a monogram layout without merging the designs may be more appropriate. Start with a printed production sheet for each letter at the actual size. The most useful printed production sheet will also show the design’s start point in the center. I also prefer to print this on a translucent material such as vellum. Now cut the letters out from these production sheets.

8:
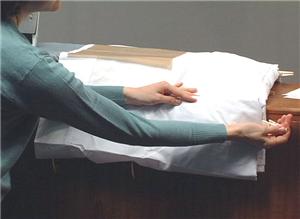
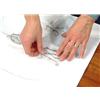
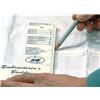
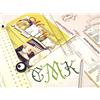
Lay out the monogram over the item to embroider. The monogram placement template shown here is part of the Monogram Manager package. Mark the intended location for the center of the monogram. This can also be the start point for the middle letter.
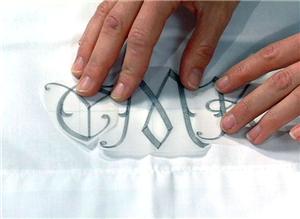
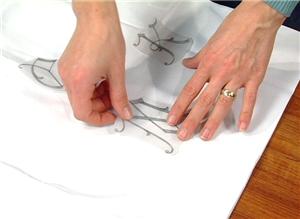
9:
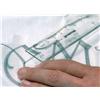
Place the printed letters alongside one another over the marked center point. How do they look? Move each letter closer or farther away, up or down until you like the arrangement.
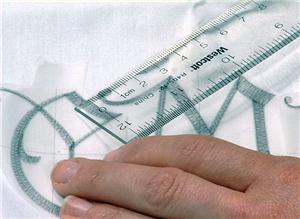
10:
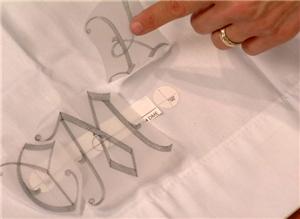
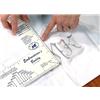
Once you know how you would like to arrange the letters, you can fine-tune the placement. Measure the distance from the center point of the middle letter to each of the letters on the sides. In some cases, adjust the placement of the letters until the measured distance is the same. Sometimes serifs or other decorations on the letters will make the monogram look better if the center points are not actually equidistant. This will depend on the style of monogram you have chosen. In these cases, you might measure the distance between the edges of the letters, and use that as your criteria, instead.
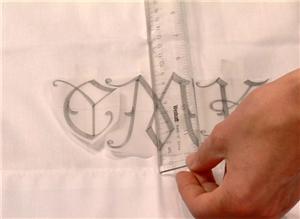
11:
Besides placement from left to right, it’s also important to get the monogram evenly aligned vertically with relation to the item you’re embroidering on. Find a straight edge. For this project, the satin border or the edge of the sheet will do. Again, use a ruler to verify that the distance from the straight edge to the center or bottom of each letter is correct. In the monogram shown here, the distance from the bottom of the sheet to the center of the side letters is the same as it is for the middle letter, but the distance to the bottom of the middle letter is shorter than the distance to the bottom of the side letters. In a case like this, just make sure that the distance to the bottom on the left and right letters is equal.
12:
If it’s hard to find a straight edge on your embroidery project, you might use the crosshairs on your printed letters as a straight edge. Just align them with a ruler laid over the top.
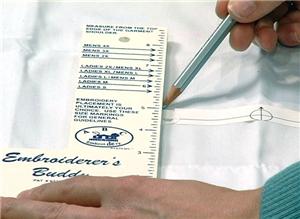
13:
Or, if there’s a good natural vertical straight edge, use a squared ruler like the Embroiderer’s Buddy, and create a horizontal straight edge to work with.
14:
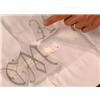
When you are confident that your monogram is centered and straight, mark the embroidery start point for each letter with a target sticker. Target stickers like these are included in the Monogram Manager kit.
15:
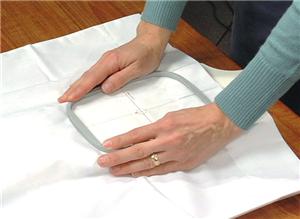
When you embroider large letters, it’s likely that you need to hoop each letter separately for embroidery. To help you keep the hooping straight, mark a vertical or horizontal line, or both, on the fabric itself with a removable marker or pencil. Because my Embroiderer’s Friend hooping tool has a handy vertical line, I marked a vertical line to help judge the straightness of my hooping.
16:
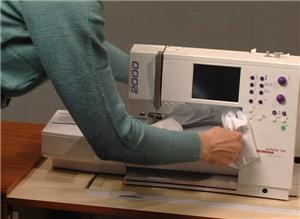
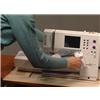
A flat sheet is fairly easy to hoop. A pillowcase on the other hand, has only one open end, so make sure that you pull the back of the opening behind the hoop to avoid stitching through it. You may also find it convenient to rotate the design file on your machine to match the orientation of the hooped area.
17:
To help you succeed in monogramming, some useful tools are the following: embroidery software, printed production sheets at actual size on vellum, the Monogram Manager kit by Embroideryarts, a ruler, a squared ruler like the Embroiderer’s Buddy, a removable marker or pencil, and a hooping aid like the Embroiderer’s Friend.


 Gothic Monogram 7 Design Pack
 Video Showcase: Series 3
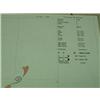 Printing Production Sheets
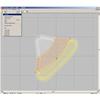 Rotating an Embroidery Design File
 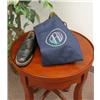 Monogrammed Shoe Bag
 Relax with Roses Spa Set
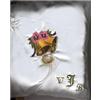 Wedding Ring Pillow
 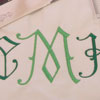 Monogrammed Linens Video