Embroidery Special FX (Effects) May 17
Watch: 

Features in Fabric
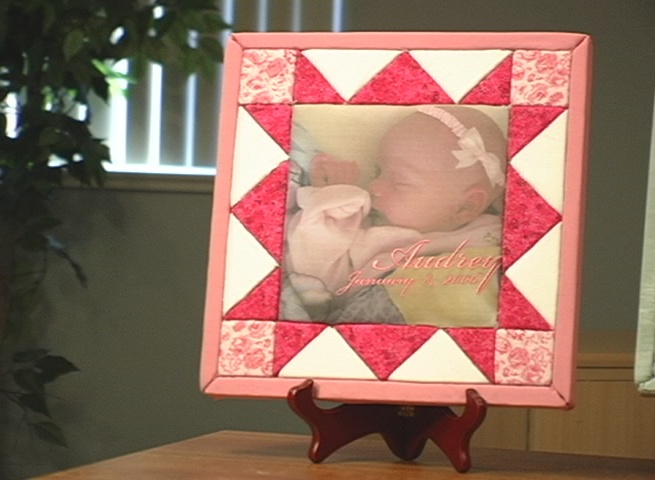
We have all been saving scraps of fabric left over from other projects, right? With the Features in Fabric Board, you can mount fabric and embroidery for display simply and attractively. This is the reason we've been saving all those scraps!
1:
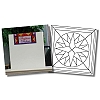
First, choose a design pattern. To display a large print or embroidery design as the focal point of your fabric art, choose a pattern with a large center block.
2:
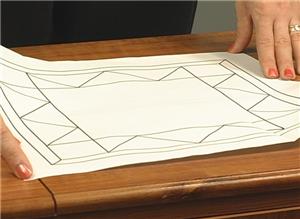
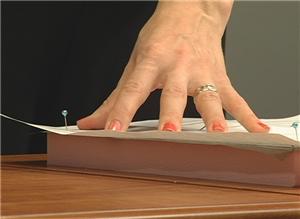
Next, transfer the design to the Features in Fabric foam board. Place the foam board with the white paper side up, and lay a sheet of graphite paper over it. Place the design pattern right side up over the graphite paper. Align the corners of all three pieces, and pin them in place.
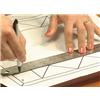
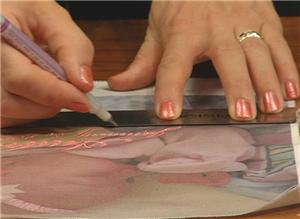
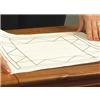
3:
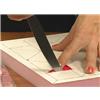
With a pencil, and a metal ruler for making steady lines, trace the pattern. When you're finished tracing, the pattern design is transferred to the foam board, and the pattern sheet can be saved for use at another time.
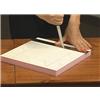
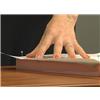
4:
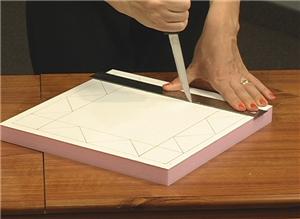
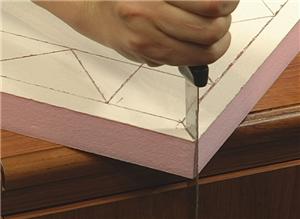
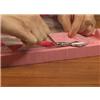
Remove the papers from the board. Using a serrated edge or craft knife cut about halfway into the board along the all of the lines. While cutting, the position of the knife is important. You can use a ruler or a straight edge to keep things straight. Cut the board with the knife as straight up and down as you can - standing while cutting makes this easier.

5:
When the pattern lines meet the corners of the board, cut all the way through the board for a half inch distance along those lines. This is for covering the back of the board, and binding the corners.
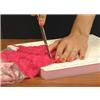
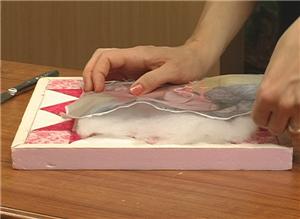
6:
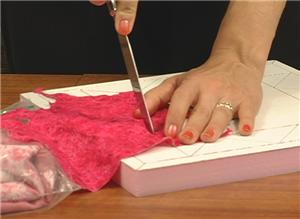
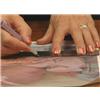
The finished Features in Fabric board has the look of a quilt, but unlike quilting, we won't be pre-cutting the pieces. Instead, lay a fabric piece over the area and lightly score the fabric into the cut lines. A simple tool like a butter knife works well.
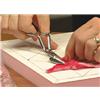
7:
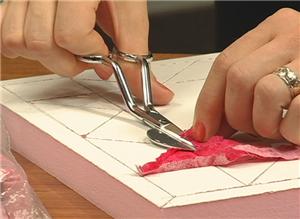
When you have outlined an entire piece, cut the excess fabric away, leaving a quarter inch of fabric. Using the Clauss applique scissors makes this much easier.
8:
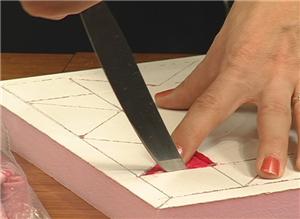
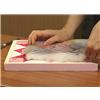
Now, press the remainder of the fabric into the cut line. This is probably the most relaxing step, and it's rewarding as you get to see a glimpse of the finished project.
9:
Before placing your center image, you may find it helpful to mark a straight line on the fabric with disappearing ink. Following this marked line as you score the fabric into the board helps keep your main image straight.
10:
You can give your Features in Fabric board a soft, quilted look by using fiberfill or batting underneath the fabric pieces. Score part of the shape, and add small pieces of fiberfill or batting, a piece at a time. Continue to score the remainder of the fabric into place, and stuff as you go, until the full piece is finished.
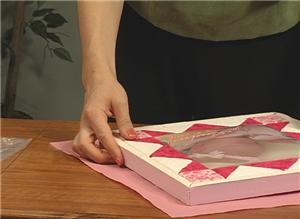
11:
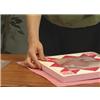
After the main pieces are in place, it's time to cover the outside of the board. You need one piece of fabric that's six to eight inches larger than the board itself. Make sure this piece covers the back of the board and leaves enough fabric to cover the outside border and to score into the cut lines.
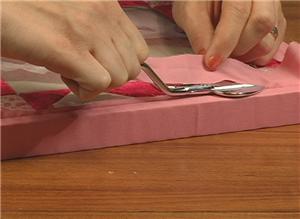
12:
Trim away the excess fabric, again leaving a quarter inch of fabric on the outside of the cut lines. Finish tucking the fabric into the border line cuts and the corner cuts.
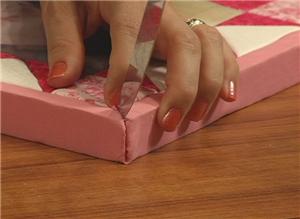
13:
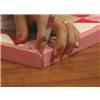
When scoring fabric into corners, you will have a small tab of extra fabric. Find the middle of it, line this up with the corner slit on the board, and gently push it in with the knife.
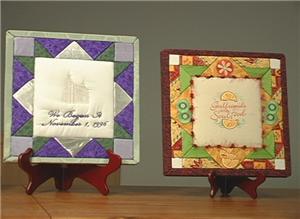
14:
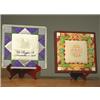
You can make a birth announcement, a wedding memento, a mounted quilt block, an embroidery display -- Whatever you choose. The Features in Fabric Board is an easy & enjoyable medium to work with, and gives impressive results.


 E-Club Project & Mini Pack - "Love Is" Features in Fabric
 Features in Fabric Basics
 Logan Temple - small outline
 "Wishes Won't Do Dishes" Appliqué
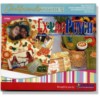 Extra Punch: Girlfriend's Kitchen
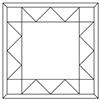 Sun Burst Features in Fabric Paper Template (11 3/4 x 11 3/4)
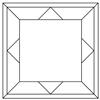 Topaz Glitter Features in Fabric Paper Template (11 3/4 x 11 3/4)
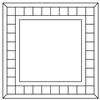 Centennial Square Features in Fabric Paper Template (11 3/4 x 11 3/4)
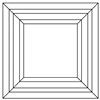 Center Stage Features in Paper Template (11 3/4 x 11 3/4)
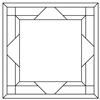 Day Break FIF Pattern Paper Template (11 3/4 x 11 3/4)
 Kaleidoscope Star Features Paper Template (11 3/4 x 11 3/4)
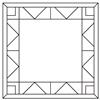 Utopia Blossom Features in Fabric Paper Template (11 3/4 x 11 3/4)
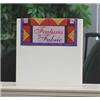 Features in Fabric Board (11 3/4" x 11 3/4")
 Video Showcase: Series 3
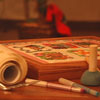 Kirsten's Favorites Video
 Features in Fabric Board Video