What's New Wednesday April 24th
Watch: 
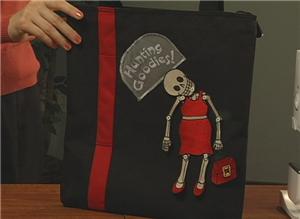
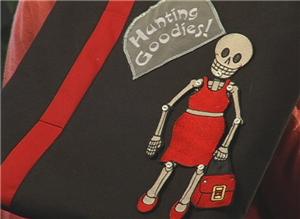
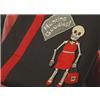
Halloween "Hunting Goodies" Tote Bag
Halloween is a fun time to use glow-in-the dark and sparkling elements, and this tote bag project brings you both. A tall tote bag can be difficult to embroider with a home embroidery machine, so this project introduces freestanding designs that you can embroider separately and then attach to the bag.
1:
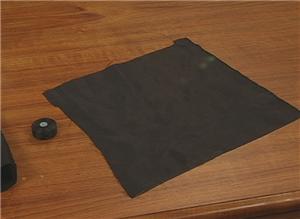
The poseable skeleton elements are designed to be free-standing and incorporate fabric to give them stability. Since all the elements will be placed on a black tote bag, choose use black bobbin thread and black fabric for making those pieces.

2:
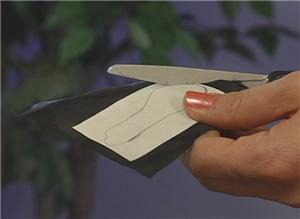
For each part of the skeleton design, make an applique template, and use Appli-Kay Wonder to make ready-to-use pieces.
3:
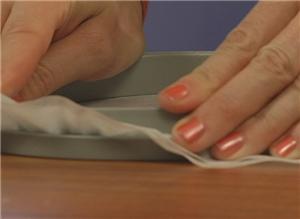
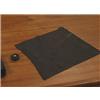
To easily make these pieces freestanding, hoop two layers of a water soluble fibrous stabilizer.
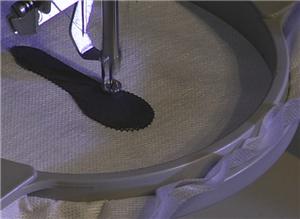
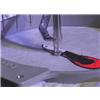
4:
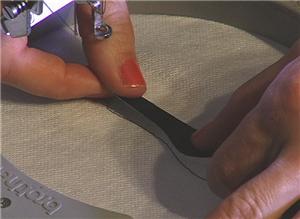
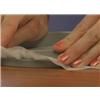
Begin embroidering. The first part of the design outlines the fabric area, so I can align my applique piece. Then the machine stitches around the piece to keep it in place, and you can cut away any excess fabric at this point, and continue stitching.
5:
Here, you can use a glow in the dark thread for the skeleton bones.

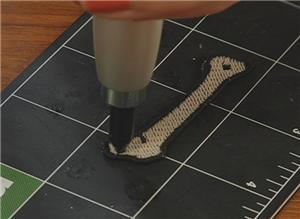
6:
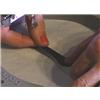
The skeleton design stitches a satin border, covering the edges of the applique fabric.

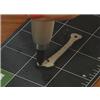
7:
When the embroidery is finished, cut out the skeleton pieces and wash away the stabilizer. When you have all the skeleton's parts stitched, you're nearly ready to attach them to the bag.
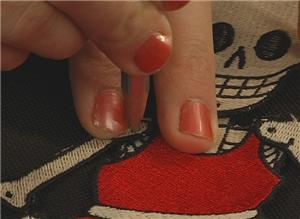
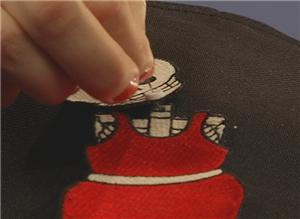
8:
On each skeleton piece is a hole for passing the button thread through. With embroidery scissors or a craft punch, cut the fabric out of the holes on each piece. I’m using the 1/16" punch size here.
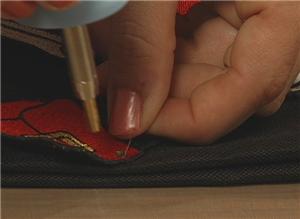
9:
With a quilter’s removable pencil, mark the placement of the skeleton's joints on the bag.

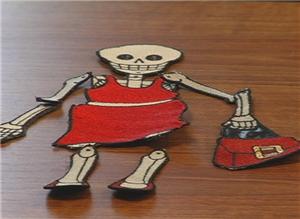
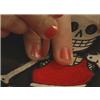
10:
To attach the skeleton to the bag, you need: a needle and thread and 1/4" buttons for the joints. Bring the thread up through the bag and through the holes on both of the bones that you're attaching. Attach the button to the bag, making sure the needle passes only through holes, and not through embroidery. The button keeps the parts anchored, while also allowing them to move freely.

11:
This skeleton is clearly all dressed up for a night's haunting, so let's add some jewelry to the outfit. She needs some earrings, a ring, and perhaps a few gems on her purse as well. I'm using the Bejeweler hot crystal setter to attach them.
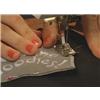
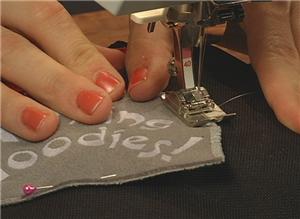
12:
Add the text "Hunting Goodies" to the top of the bag. You can use a permanent fabric glue or stitch this piece in place.
13:
With the bag all finished, we can now glow, sparkle, and otherwise light up the night this Halloween.


 Hunting Goodies Poseable Pack
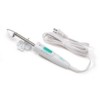 Clover Mini Iron
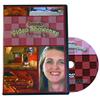 Video Showcase: Series 3
 Fil-Tec Magna Glide Style M Jumbo Prewound Embroidery Bobbins, Black
 Fil-Tec Magna Glide Style L Prewound Embroidery Bobbins, Black, 100 Count
 Hemingworth Plastic Sided Bobbins Style L, Black, 144 count
 Hemingworth Plastic Sided Bobbins Style A, Black, 144 count
 Floriani Appli-Kay Wonder - Fusible, 9" x 3 yds
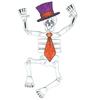 Skeleton Dangler
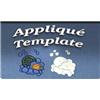 Making Applique Templates
 Using Appliqué Templates
 One Classy Dad
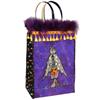 Fancy Trick or Treat Bag