Embroidery Special FX (Effects) May 17
Watch: 
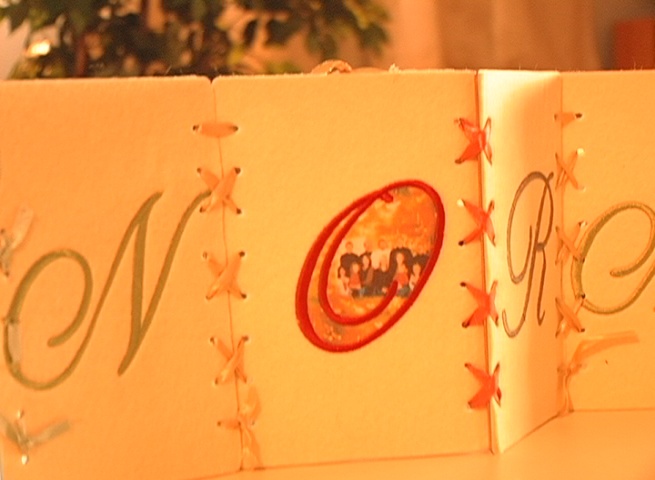
Embroidered Family Lacing Card Step by Step Project
A family lacing card is a beautiful gift, as well as a family picture display. In this project, we'll combine embroidery with the paper craft project provided in the Family Lacing Card Kit.
1:
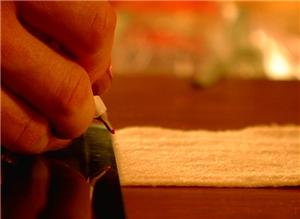
Trace the shape of the lacing cards on felt, and cut out a traced shape to match each of the cards.

2:
Mark the embroidery placement on the felt panel.

3:
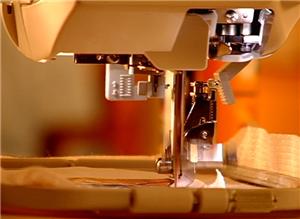
Use an embroidery safe adhesive to attach the felt panel to stabilizer, and then put it into the hoop.

4:
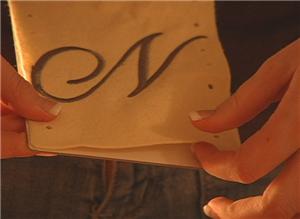
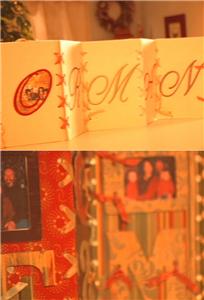
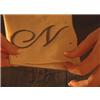
Embroider each panel with your choice of designs. We chose to embroider the family's name, using letters from the three inch tall Starbird Script Alphabet pack.
5:
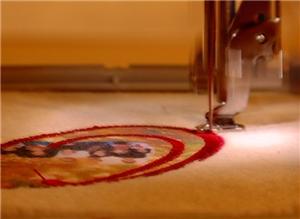
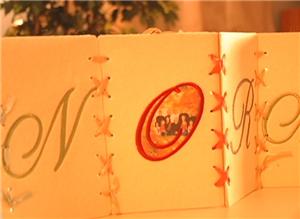
To add a family picture to the embroidery, print a photo onto fabric and applique it into the middle of an open space in one of the letters. For instance, we used the "O" and manually stopped the machine after the first run stitch, placed the printed fabric, re-stitched the run stitch, then cut away the excess fabric, and finished stitching the letter.
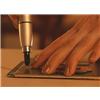
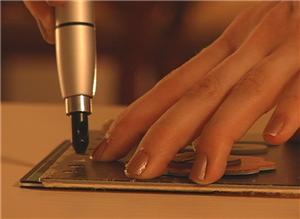
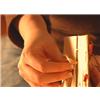
6:
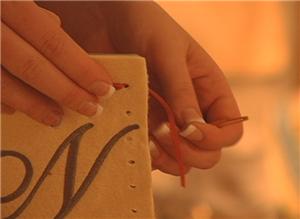
Attach the embroidered panels to the back of the lacing cards, and use an eighth inch punch to add lacing holes to them.
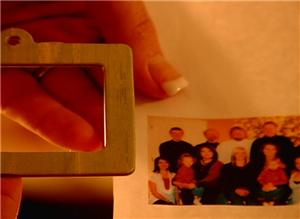
7:
With the embroidered elements finished, it's time to finish the papercrafting side of the lacing cards. To help you cut your pictures to the right size, use the included frames as guides. Then glue the pictures onto the back of the frames.

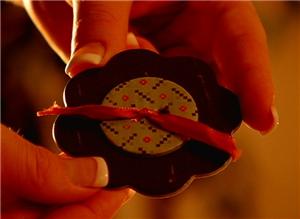
8:
Next, prepare the embellishment buttons. Glue the circular buttons over the top of the flower shapes, aligning the lacing holes.

9:
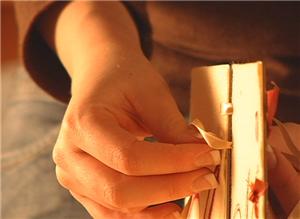
Cut a 4" length of ribbon for each button, letter, and picture frame with lacing holes in it. Lace ribbon through the chipboard pieces, and tie the ribbon to secure it.

10:
Spread the lacing cards out and arrange your elements. When you know where everything goes, use glue to attach everything to the cards.
11:
With a spray adhesive, attach each embroidered felt panel to the corresponding card.
12:
The cards are laced together with 22 inch lengths of ribbon. A tapestry needle makes this go more smoothly. Threading ribbon through holes, lace pairs of cards together, until the entire sequence of cards is hinged. Tie a knot in the ribbon at the end of each card pair.

13:
Now to finish the sides, thread a piece of ribbon through two holes, and tie. Repeat this down the side of the first card and the last card.
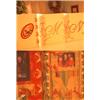
14:
Now the Family Lacing Card is finished, and whichever side you see it from, you'll know this project is about family.