Inside the Hoop with Kimberbell - Making a Quilt part 2
Watch: 

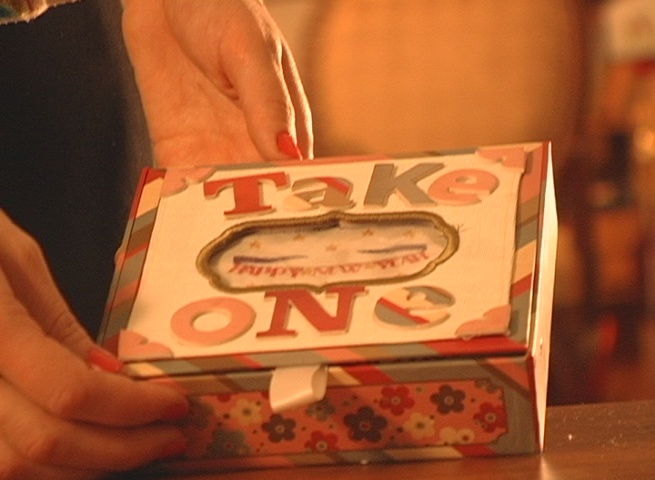
Holiday Candy Box
We're turning this Jitterbug cigar box into an all-year holiday goody box. You can dress the box for any time of year by simply popping in a different embroidered centerpiece. Designs created for the candy box window are available on Embroidery.com.
1:
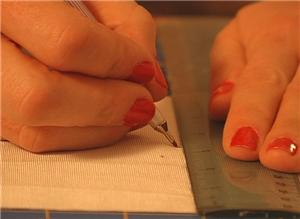
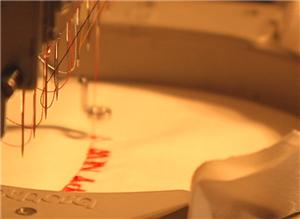
For the top of the box, begin with a square of fabric about 7 inches in size, and mark your embroidery start point in the center of the square.
2:
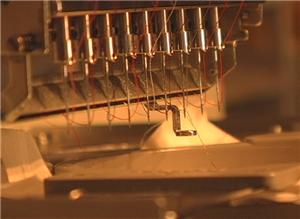
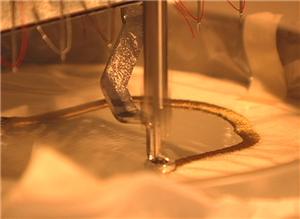
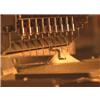
Begin embroidering the "Cigar Box Cutwork & Applique Frame" design by Embroidery Central on the fabric, and stop the embroidery machine after the cut line has stitched.
3:
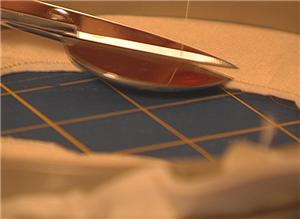
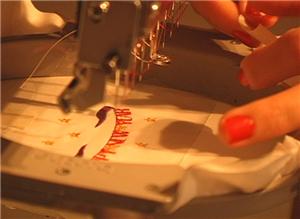
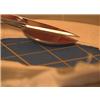
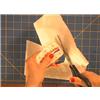
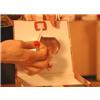
Remove the hoop from the machine and use applique scissors to cut away the fabric inside the cut line.
4:
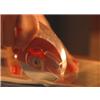
Attach a removable, clear stabilizer to the top and bottom of the fabric in the hoop.

5:
Return the hoop to the machine and continue stitching. The design creates a satin stitched edge around the cut area. Remove the fabric from the hoop, and trim the clear stabilizer away. Remove the fabric from the hoop, and trim the clear stabilizer away.
6:
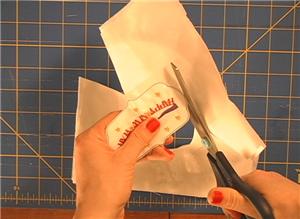
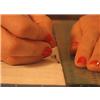
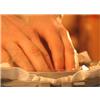
Align the cigar box top with the cutwork opening you have made. Mark the position of the box on the underside of the fabric.
7:
If you have used a non-fraying fabric, you can cut the panel five and a half inch square. To hem the edges, mark a six inch square around the cutwork opening on your fabric, and cut the square out.

8:
If hemming, mark quarter inch margins on the embroidery stabilizer on the opposite side of the embroidery, and trim away that quarter inch of stabilizer all the way around the square. This makes it easy to turn and hem the fabric just right.
9:
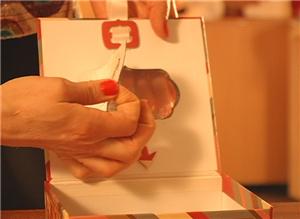
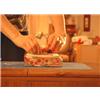
Glue the finished panel onto the top of the cigar box. The Jitterbug box comes with double-sided chipboard letters and shapes. Use them to further embellish the box top. You can even add a ribbon tab, handy for opening the box.

10:
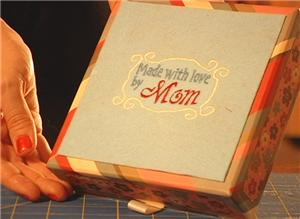
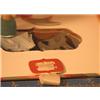
To give the bottom of the box an embroidered treatment, stitch a label like "Made with Love by Mom" on a piece of felt, and trim the felt to five and a half inches square around the design. Glue this fabric on the bottom of the box. It now functions as a scuff stopper.
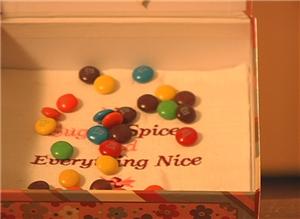
11:
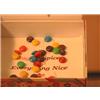
For the inside of the box, add a little sweetness by embroidering a message like "Sugar, Spice, and Everything Nice" (CD031505TD) on a 6" piece of fabric to fit the bottom of the box.

12:
Now, to make the holiday inserts that complement each season of treats & surprises: first, embroider the holiday design on your choice of fabric.

13:
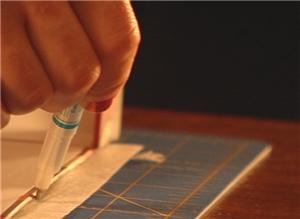
Before the last color stop, add a layer of clear vinyl to the top of the embroidery. The outline stitch at the end will stitch that down.
14:
Cut away the extra fabric outside the line.
15:
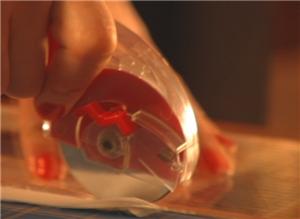
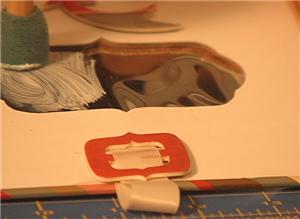
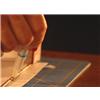
Paint the box window with a thin layer of "Aleene's Tack it Over & Over" temporary tacky glue. Let the glue dry clear.
16:
The embroidery now sticks to the plastic window in the top of the Jitterbug box, and can be easily removed and replaced by a different embroidered piece for the next holiday.


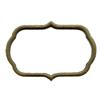 Cigar Box Applique
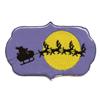 Santa Sleigh Silhouette Applique
 Happy New Year Applique
 Video Showcase: Series 3
 Hemingworth Super Solv - Cold Water Soluble Film - 12 in X 11 yds
 Clover Mini Iron
 Cutwork Embroidery
 Embroidered Candy Bar Wrapper
 Holiday Candy Box