Embroidery Special FX (Effects) May 17
Watch: 
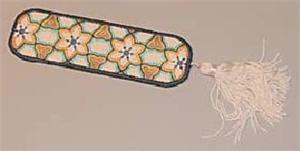
Embellished Bookmarks
This creative project results in a beautiful free standing embellished bookmark. Makes a perfect gift or keep it for yourself.
1:
Gather the following products: Material for bookmarks, Fusible No Show Mesh backing, Water soluble backing (dissovle-away / washaway), Adhesive spray, Invisible tape, Pre-wind bobbin to match outside border color of bookmark, Optional tassel.
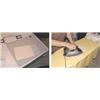
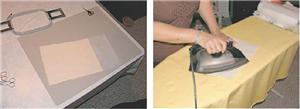
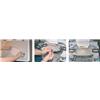
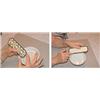
2:
Take your fabric for bookmark and lay wrong side up. Take your Fusible No Show Mesh backing (fusible side down and iron the two pieces together. If you are using a thinner piece of fabric for your bookmark you may have to use two pieces of the Fusible No Show mesh to give your bookmark more stability.
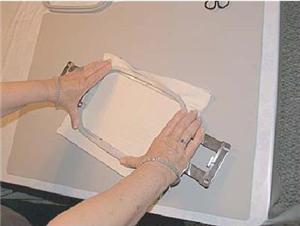
3:
Hoop the fabric that you have fused. A 5" x 7" hoop is perfect for this project.
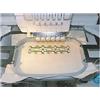
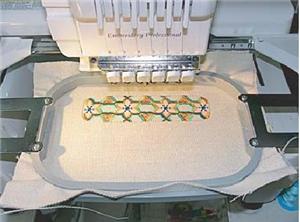
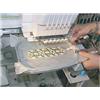
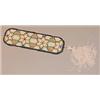
4:
Embroider the first file "A" which is for the front of your bookmark.
5:
Embroider the second file "B" which is the blank back of your bookmark.

6:
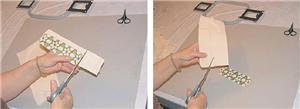
Remove from hoop and cut out the front and back of bookmark. Cut as closely as possible to the outside edge cutting line, with out cutting into the stitching.
7:
Take the front of your bookmark and lay on table embroidery side down (back of embroidery face up). Using a small piece of invisible tape place the tassel at the bottom center of the design and tape in place. Make sure that you leave enough space so that tassel head is far enough away from where the embroidered border will be.
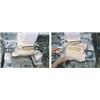
8:
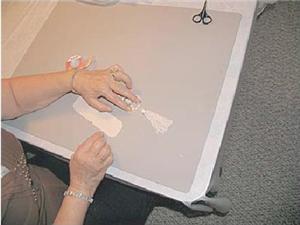
Take your adhesive spray and spray the back of both pieces of the bookmark. CAREFULLY line up the front and back of the bookmark so that they stick together.
9:
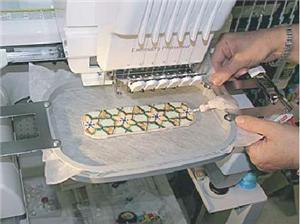
In your 5 x 7 hoop take a piece of water soluble backing (dissolve-away / washaway ) and hoop. At this point change the bobbin in your machine to the bobbin that you have pre-wound to match the outside border color you will be using for your bookmark. Using your "C" file run the first color. This is your placement line in which you will lay down your bookmark with tassel. Placement must be exact. (Front of bookmark up.)
10:
Tape down the tassel so that it does not get in the way of the embroidered border.
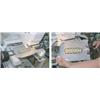
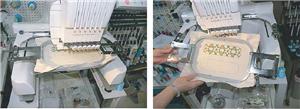
11:
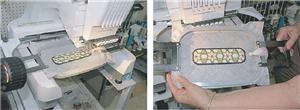
The second color of the "C" file tacks down the bookmark and embroiders the border that holds the two pieces and tassel of bookmark in place. Note that the embroidery will begin at the center top of the design to give you a good visual to ensure that the tack down stitches are in the right place.
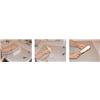
12:
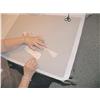
Remove from hoop and cut the water soluble backing as close to the outside border without cutting into the stitching. Make sure that the tassel is out of the way when cutting the backing. Turn over bookmark to backside and cut the water soluble backing as close as possible to the inside of the border without cutting into the stitching.
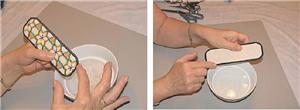
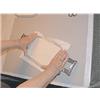
13:
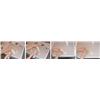
In a bowl place hot water (as warm as possible - not boiling) with a drop of dish soap. Take your bookmark and dip finger into water and run along outside edge of bookmark to dissolve away remaining backing. Repeat as necessary until completed. Turn bookmark over to back and repeat process for inside border of your bookmark.
14:
Let bookmark dry. You have now completed Embellished Bookmark project.


 Christmas Bookmarks Design Pack
 Embellished Bookmarks Design Pack
 Embroidered Vinyl Bookmarks