Embroidery Special FX (Effects) May 17
Watch: 
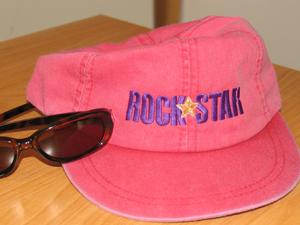
Embroidered Rock Star Cap
Embroider a hat for the rock star in your life. Hats can be tricky to embroider, but here are a few guidelines to help you ensure success.
1:
Most fashionable hats these days have a fairly low profile. Choose embroidery designs that are no larger than 2.5" in height. In our example, we are using the design Rock Star (AIGWHF19). The Girls Wanna Have Fun design pack by Adorable Ideas includes many other designs that fit the height limit for hats.
2:
If you have a hat attachment for your embroidery machine, use it. Softer, floppier hats can sometimes be embroidered using an over the hoop technique, but nothing beats a hat attachment for consistent, well-placed results.
3:
Stabilize your embroidery with a good cut away or firm tear away backing.
4:
Hoop the hat firmly, taking care to smoothe away wrinkles and avoid puckers, just as you would for regular flat embroidery.
5:
Print production sheets for the design you will use and cut it out. Use it to mark the placement for your embroidery on the hat.
6:
Where is your hat bill once the hooped hat is on the machine? If the bill faces away from you, be sure to flip the design 180 degrees (upside-down) so that the embroidery will appear right side up on the cap. Some machines have a hat rotation feature built in for designs.
7:
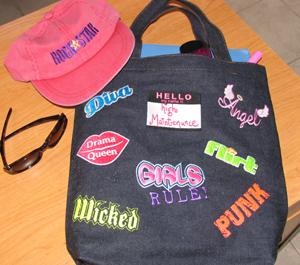
When the embroidery is finished, you'll find the cap makes a great companion piece for the "Girls Wanna Have Fun" tote.


 Rock Star
 Girls Wanna Have Fun
 Over the Hoop with Wet 'n Stick
 Over the Hoop 1
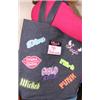 Girls Wanna Have Fun Tote
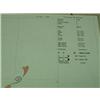 Printing Production Sheets
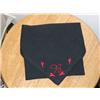 Placement Marking