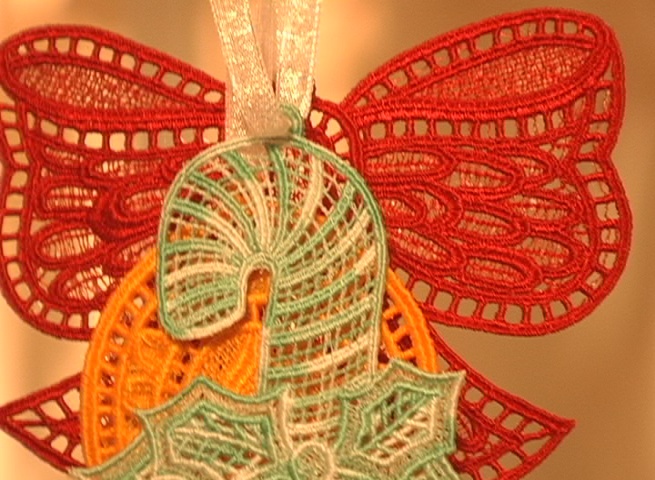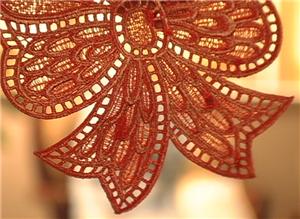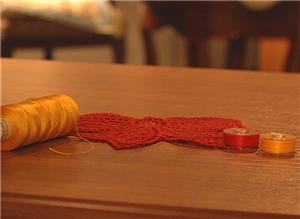
1:
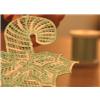
First, use designs that are made for a freestanding application. These use specific stitch patterns and sequences to wrap the stitched threads around each other so that they hold together without fabric in between. In my examples, I'm using designs from the Holiday Lace set from Anita Goodesign.

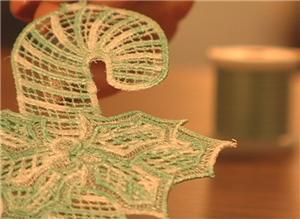
2:
When working with freestanding embroidery, consider that the back side of the embroidery is going to be visible.
3:
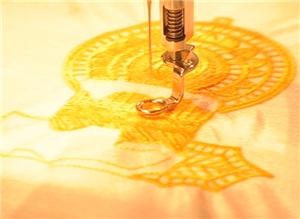
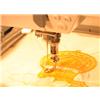
Typically, we stitch with white or black bobbin thread, and you may find that works well for the look of the lace you are doing. For instance, with a variegated thread that has white segments in it, the white bobbin thread serves to lighten the look of the undeside of the lace, but it's not immediately obvious that you're not looking at the top side of the lace.
4:
Another option for making graceful lace that looks good from both sides is to use a colored bobbin to match the embroidery thread. This could be done by winding your own bobbins. A quick way to get right to the lace is to use a colored pre-wound bobbin thread.
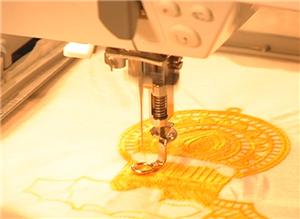
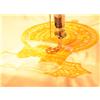
5:
When stitching freestanding lace designs, I recommend using a fibrous type of water soluble stabilizer. This type is best suited to the multiple needle penetrations required by the lace stitching. It stabilizes the design and remains intact during stitching.
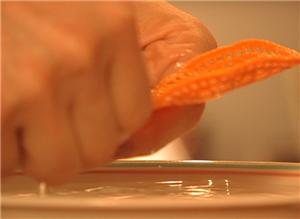
6:
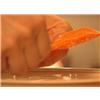
Water soluble stabilizer can just be washed away after the embroidery is finished. For a starched finish for your lace ornaments, rinse the embroidery in cool water just until the stabilizer disappears, and lay it flat to dry. The ornament is ready to hang.


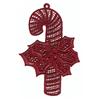 Candy Cane Lace Ornament
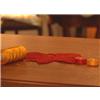
 Candle Lace Ornament
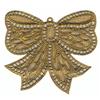 Bow Lace Ornament
 Holiday Lace Design Pack
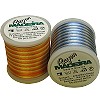 Madeira Rayon Ombre No. 40 - 200m Spool
 Video Showcase: Series 3
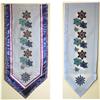 Snowflake Lace
 Holiday Lace Quilt
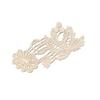 Vintage Lace Tutorial
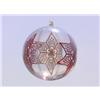 Lace Star Bubbles
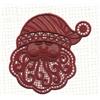 Lace Inserts
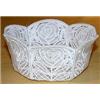 Anita's Lace Rose Bowl
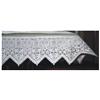 Embroidered Lace Edged Tablecloth
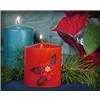 Embroidered Holiday Candle
 Embroidered Christmas Ball Earrings
 Freestanding Lace Video
 Tin Punch Ornaments Video