What's New Wednesday April 24th
Watch: 

Organza Entrapment! Christmas Ornaments Project
Using just your embroidery machine, sheer organza fabric, and water soluble stabilizers, you can create embroidered Christmas ornaments with a surprise inside.

1:
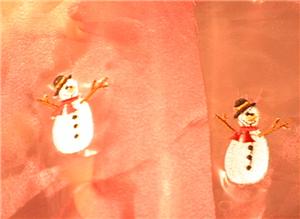
For this project, you need the three inch circle (JF12U) by Thread Images, and a small Christmas design. For this project I'm using Starbird's "Mini Snowman" (CD111805TD) and "Christmas Tree with Balls" (Cr-088) by Sew Man Embroidery.

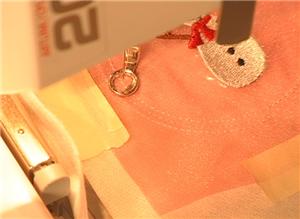
2:
Begin by stitching the small design for your ornament on organza backed with a water soluble stabilizer. Stitch two copies, one for the front and one for the back of your ornament.

3:
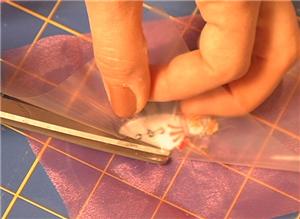
Cut a four inch square around each design and also cut away most of the stabilizer.
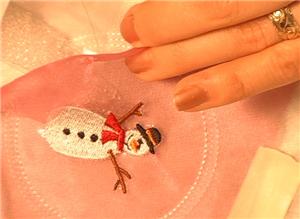
4:
Also take a moment to trim stray embroidery threads from the front and the back of the embroidery.

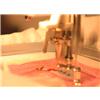
5:
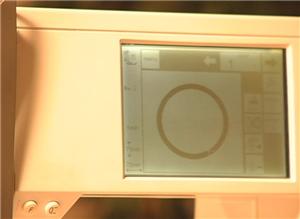
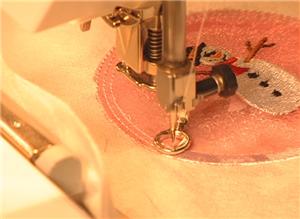
For this next step, you may want to match your bobbin thread to the embroidery thread. In this example, white thread was used, and so the usual white bobbin matched perfectly. On a sheet of fibrous water soluble stabilizer, begin embroidering the larger circle design. Manually stop the embroidery after the first two outline stitches are complete.
6:
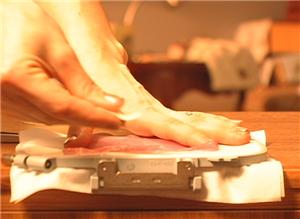
Remove the hoop from the machine, and turn it upside down. Align one of your embroidered designs with the stitched circle, and tape it in place, right side toward you, on the bottom side of the hoop.

7:
Return the hoop to the machine and repeat the first two circle outlines. Once again, manually stop the machine and remove the hoop.

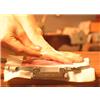
8:
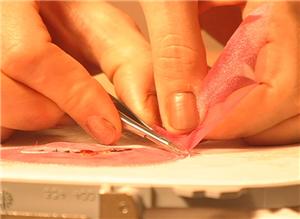
Trim away the excess organza on the bottom of the hoop.

9:
Turn the hoop to the top side, and tape the second embroidered design in place.
10:
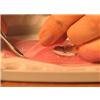
Return the hoop to the machine and again begin to stitch the first circle line. This time, manually stop the machine when the stitching reaches three quarters of the way finished with the first circle.

11:
This is the fun part. Lift the organza on the top side of the hoop, and pour small beads and confetti inside. Check the hoop for any spilled beads before returning it to the embroidery machine.
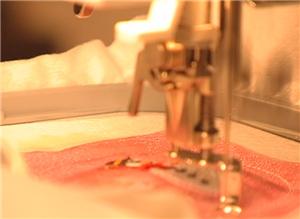
12:
Back the machine up a few stitches, check to make sure no beads are in the path of the needle, and continue stitching the remainder of the circle. The design will then stitch the second circle outline. When that is finished, stop the machine and remove the hoop.
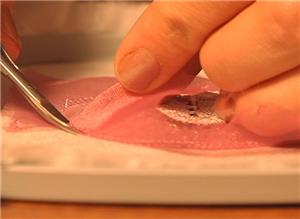
13:
Trim the extra organza next to the stitching. Return the hoop to the machine.

14:
Push the beads into the center of the ornament, and continue stitching. The design now finishes the edges with a satin border.
15:
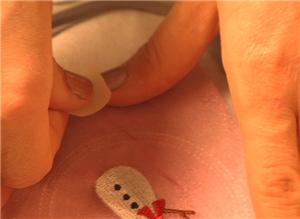
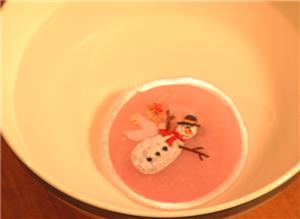
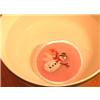
Cut the ornament out of the stabilizer, and rinse the stabilizer away.
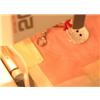
16:
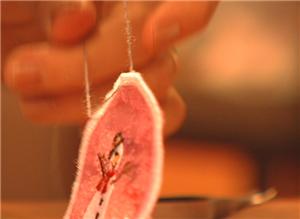
You can also add beads to the outside of the ornament, like the star-shaped bead on the top of the embroidered Christmas tree.

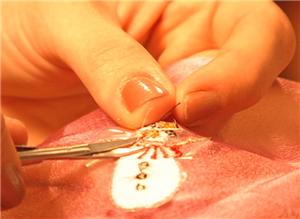
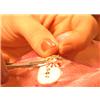
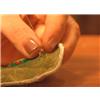
17:
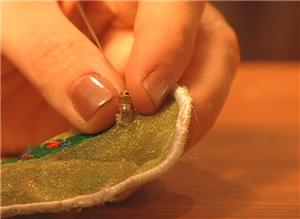
With a needle, add a thread loop to hang the ornament by. Pull it through the top of the satin border.

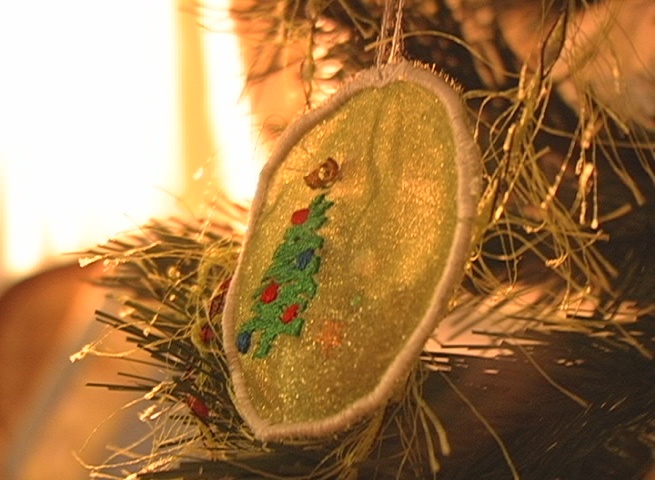
18:
Once it dries, the ornament is ready to hang. The loose beads trapped inside will make people look twice and ask, "how did you do that?"


 Circle 3"
  Mini Snowman
 Christmas Tree with Balls
 Video Showcase: Series 3
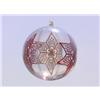 Lace Star Bubbles
 Mylar & Glass Ball Ornament Project
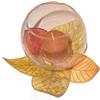 3 D Fall Leaves
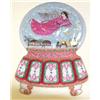 Embroidered Snow Globes
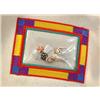 Making Clear Vinyl Display Windows
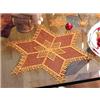 Lace Edged Organza Star
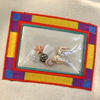 Making Clear Vinyl Display Windows Video
 Mylar & Glass Ball Ornament Video
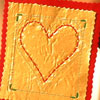 Tin Punch Ornaments Video
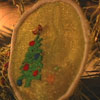 Christmas Organza Entrapment Ornament