1:
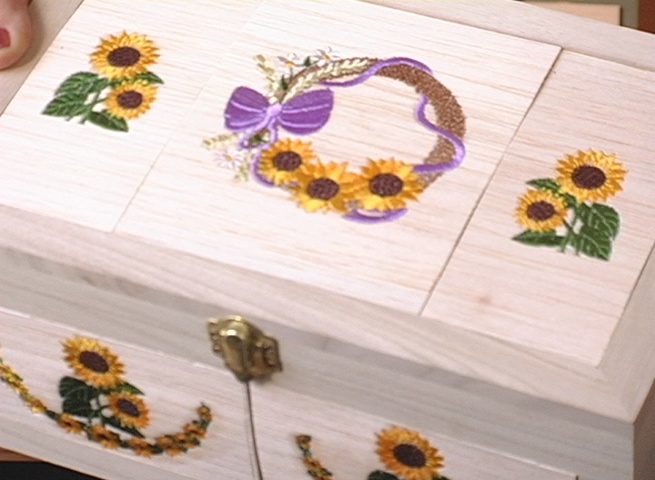
Plan the embroidery layout for your wooden box by using printed production sheets to envision where the designs will go. This project is being made with 1/16" thick balsa.
2:
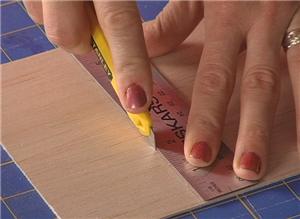
Cut pieces of 1/16" thick balsa wood to fit recessed areas in the top and sides of the box. Because the box is so long, plan to divide the areas into sections that will fit within your embroidery hoop. To duplicate this project, you will need to cut nine pieces. For the lid, three pieces of balsa will make up the main area: one piece 136mm x 110mm for the center top piece, and two pieces 136mm x 63mm for the side pieces. For the short sides of the box, cut two pieces 65 mm x 135 mm, one for each end of the box. Finally for the long sides, cut four pieces 65mm x 118mm. Two of these pieces fit in each side panel.
3:
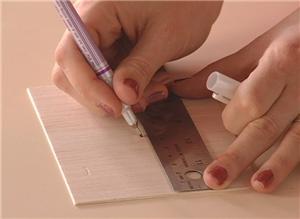
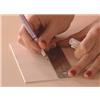
Mark the embroidery placement on the wood with a disappearing marker. For the box cover, design "Sunflowers, wreath" (IF04) goes in the center of the 136 x 110mm piece, and "Sunflowers, pair" (IF05) goes in the center of each of the two 136 x 63mm pieces. For the short sides,"Sunflowers, fence" (JF30) goes in the center of the two 65mm x 135 mm pieces. For the long sides, either use editing software to combine "Sunflowers, pair" (IF05) with "Sunflowers, half-circle" (IF09), or mark placement for "Sunflowers, pair" (IF05) in the horizontal middle, and 41mm from the bottom of the 65mm x 118mm pieces, and mark the start point for "Sunflowers, half-circle" (IF09) 24mm from bottom in the horizontal middle of the same piece.
4:
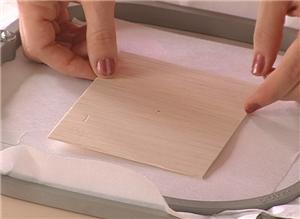
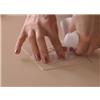
Now prepare to embroider the wood. Lay two sheets of tear away stabilizer over your bottom hoop, and then place a sheet of adhesive stabilizer like Film-o-Plast over it. Hoop these together, then peel away the paper topping on the adhesive stabilizer, and press the balsa wood into the hoop.

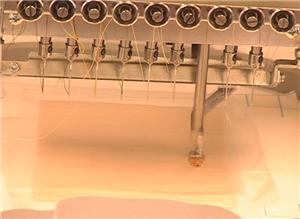
5:
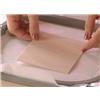
Place two sheets of water soluble topping over the area to be embroidered. Now you can begin stitching on wood!
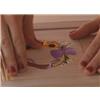
6:
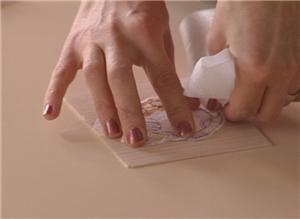
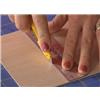
When the stitching is finished, simply remove the stabilizer and topping one layer at a time while being careful to hold the embroidered wood flat against a hard surface. Use water to remove any small remaining bits of topper.
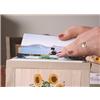
7:
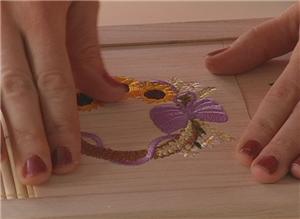
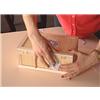
Now you can fit the embroidered pieces into the recessed areas of the box and glue them in. Place weights on the pieces to prevent warping while the glue dries.
8:
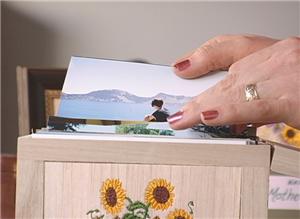
And now that the glue has dried, your sunflower photo box is ready for use.