Software Success: More about the new Edge to Edge Plugin
Watch: 
Reversible Watchband
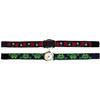
This watchband project is being made with a length of ribbon, a watch face, and a watchband design from Sudberry House. Ladybugs nestle among flowers on one side. Turn it over, and happy green frogs smile at you when you check the time.
1:
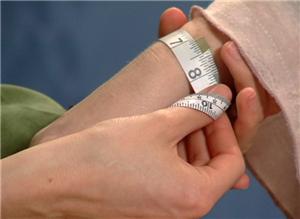
To begin, measure your wrist, and add a total of 3/4" of an inch (3/8" at each end) to account for the overlap needed for the watchband closure. If this measurement is shorter than the length of the embroidery design, you'll still need to cut a piece of ribbon long enough to accommodate the entire design. If your wrist measurement is larger than the length of the embroidery design, cut the ribbon to the full length needed for the finished watchband.
2:
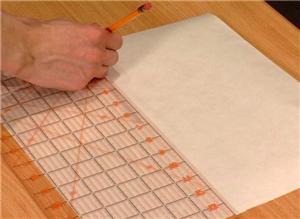
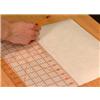
An adhesive stabilizer always comes in handy for odd-shaped embroidery projects like this one. I also want to leave minimal stabilizer behind on the finished product, so I'm using a tacky and water soluble stabilizer. First, I'll mark an area to fit the 1 1/2" ribbon widthwise on the paper side, with a ruler as a guide.
3:
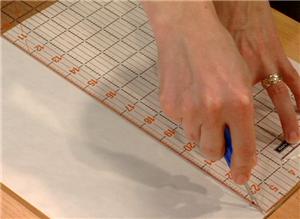
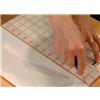
I'll use a piece of corrugated cardboard as my cutting surface, and carefully score the paper side of the adhesive backing along the lines I've drawn.
4:
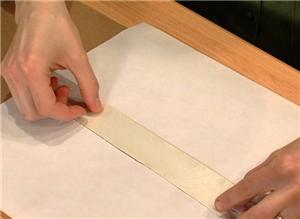
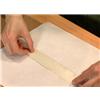
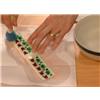
Peel the scored paper away, revealing the adhesive surface. Align the ribbon to be embroidered with the adhesive area, and press it into place.
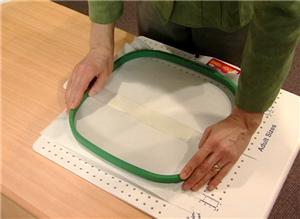
5:
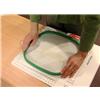
Hoop the stabilizer and ribbon, using a hooping guide such as the Embroiderer's Friend to help keep it straight.

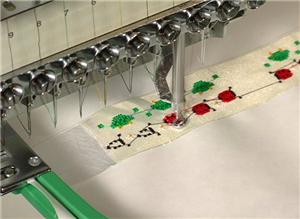
6:
Embroider the watchband design in the middle of the ribbon. There will be approximately a quarter inch of extra ribbon on each side of the embroidery.
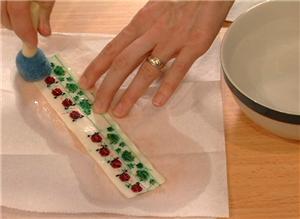
7:
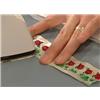
After stitching is complete, trim the excess stabilizer away, and use water to dissolve the remaining stabilizer.
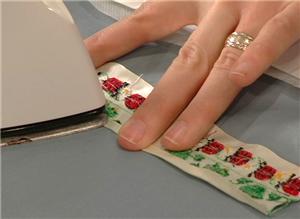
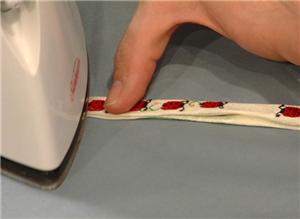
8:
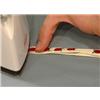
When the ribbon is dry again, press the quarter inch allowance on both sides toward the center of the wrong side of the embroidery.
9:
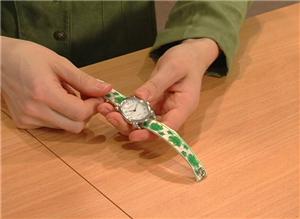
Fold the watchband in half, so that the ladybugs are on one side, and the frogs are on the other. Press along this fold as well.

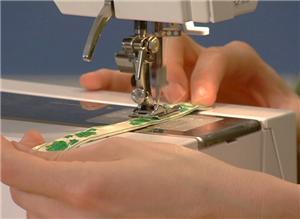
10:
At the sewing machine, stitch the side seam shut.

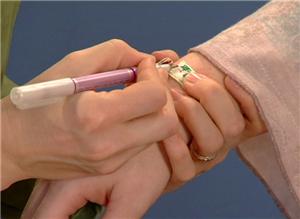
11:
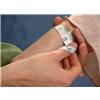
Before attaching the snaps, thread the watchband through the watch face, and try it on. With vanishing ink, mark the placement of the closure snap. If your wrist measurement is smaller than the embroidered design, now is the time to cut the finished band to size.
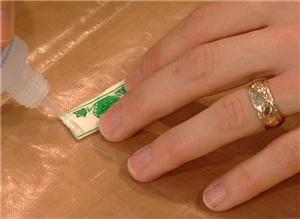
12:
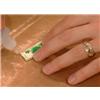
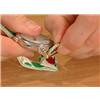
Treat the cut ends with clear-drying fabric glue such as Fray Check, to prevent unraveling. I used a snap setter to place the snaps for the closure.
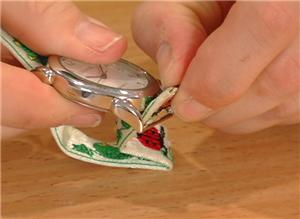
13:
A watch face like this one, made for a slide-on band, can be found in the jewelry making section of most craft and hobby stores. With the snaps in place, thread the watchband through the watch arms. Since you simply slip it through, you can turn it over to show the reverse side at any time.
14:
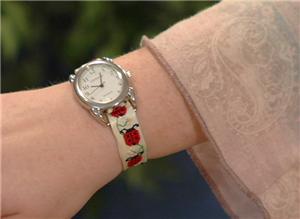
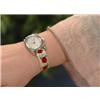
A subtle embroidered accent with purpose in everyday life is what you get with the reversible embroidered watchband.


 Frog/Lady Bug Reversible Watchband
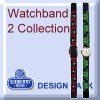 Watchband II Design Pack
 Floriani Wet N Gone Tacky
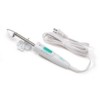 Clover Mini Iron
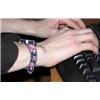 Cross Stitched Rose Watchband
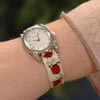 Reversible Watchband Project Video