Software Success: More about the new Edge to Edge Plugin
Watch: 

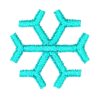
Needle Felted Feathered Yarn Hat
By sandwiching the feathered yarn of this hat between wool fiber and felt, you can embellish with a combination of embroidery and needle felting to match the scarf project. Hooping the hat takes a little ingenuity, so the full instructions are shared here.

1:
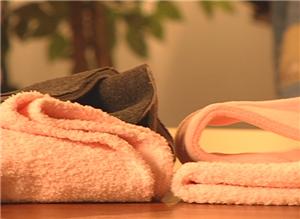
For the feather yarn hat and scarf, select thread colors, bobbin thread, and felt pieces to coordinate.
2:
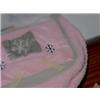
Use printouts of your designs to lay out your decoration plan.
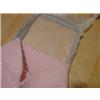
3:
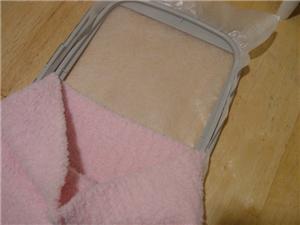
To hoop the hat, use a water soluble sticky backing such as Floriani's Wet N Gone Tacky. Peel back the release paper on top. Turn the hat inside out, and press the embroiderable area of the hat onto the middle of the backing. Hoop the hat and backing together,
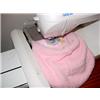
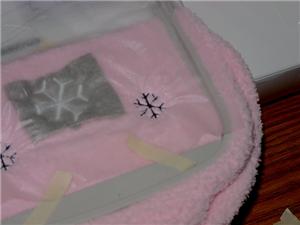
4:
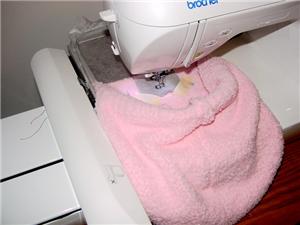
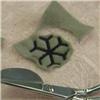
Hoop the hat and backing together. Tape felt to the bottom of the hoop, and align the machine to begin stitching the first large snowflake. Remove any adhesive placement markings from the top, place felt over the area to be stitched, and embroider the snowflake.
5:
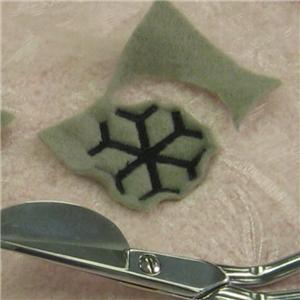
Cut the excess fleece away around the embroidered design.
6:
You may want to stitch some of the snowflakes directly on the hat, so add a layer of water soluble topping before doing so.
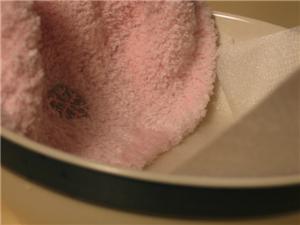
7:
When the embroidery is finished, remove the stabilizer. Use water to wash away the Wet'N Gone from the underside. Allow the hat to dry before felting.
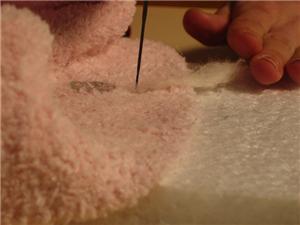
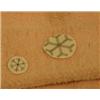
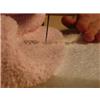
8:
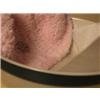
Place the hat over the felting pad. To begin needle felting, just hold the barbed needle upright, and stab it downward and into the pad. Do this repeatedly, all around the felt circle snowflakes. Turn the hat inside out and repeat from the other side.

9:
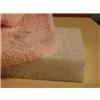
Prepare the wool fiber for felting by pulling small segments free, and twisting them into strands between your fingers.
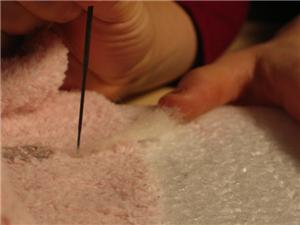
10:
Felt the twisted fiber down to the snowflakes and felt in a curvy pattern, as you go.
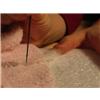
11:
Turn the hat over, and felt matching trails into the opposite side. Bits of fiber which have been brought through by the felting will guide you with your needle the second time.
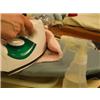
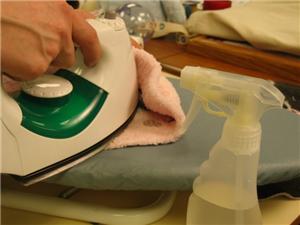
12:
Remember: to give your felting some staying power, spray it with water, and with an iron set to the "wool" setting, iron across the felted areas on both sides of the hat.


 Snowflake -8
 Snowflake
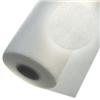 Floriani Wet N Gone Tacky
 Hemingworth Super Solv - Cold Water Soluble Film - 12 in X 11 yds
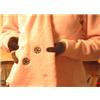 Needle Felted Feathered Yarn Scarf
 Needle Felted Keyhole Scarf
 Needle Felting Interview Video