1:
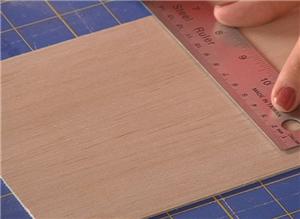
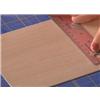
The main thing is to choose the right wood. For embroidery you need balsa, the same lightweight wood used in hobby models. Choose thin sheets -- just 1/32 or 1/16 inch thick.
2:
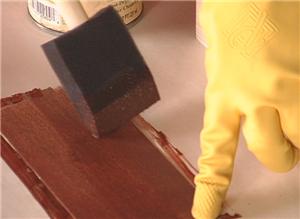
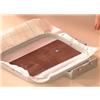
You may wish to stain the wood to match other items. Be aware that stains need to dry completely before you embroider.
3:
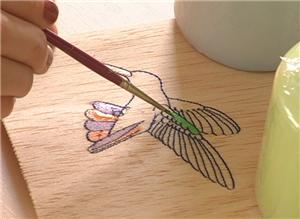
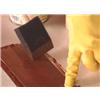
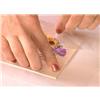
You can also add paint in decorative patterns to complement the embroidery design.
4:
Thread choices for wood embroidery should be simple. Standard rayon or polyester thread will stitch beautifully on wood.
5:
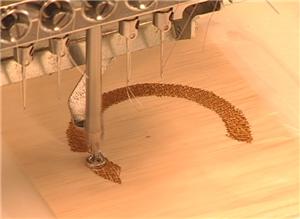
Designs with light stitch density work well for wood embroidery, but you'll be surprised how much density wood can take when properly stabilized.
6:
To stabilize wood for embroidery, you need paper-topped adhesive stabilizer like Film-o-Plast, additional tear away, and an embroidery topper. Toppers keep the stitches from sinking into the grain or into the soft wood itself.
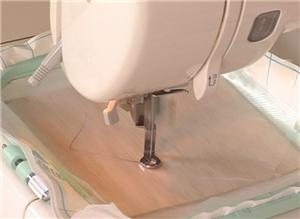
7:
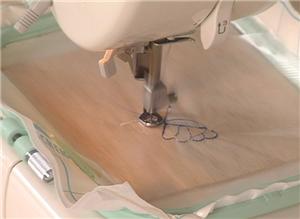
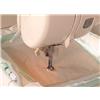
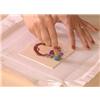
Prepare pieces of balsa that fit inside your embroidery hoop -- The wood itself won't be hooped. Then hoop together a piece of regular stabilizer and a piece of paper-topped adhesive stabilizer. Tear away the paper from the adhesive stabilizer, and press the wood onto it.

8:
Next, add your topper. One layer of permanent topper will suffice. If you use a water soluble topper, use two layers. The advantage with using water soluble topper is that it's easier to remove from tight spaces between design elements.
9:
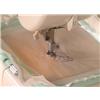
Choose embroidery designs for your project, and test them on wood. This lets you see whether the stitch densities and patterns are appealing on wood, and you can make any design edits or adjustments to your preparations before stitching the final project.
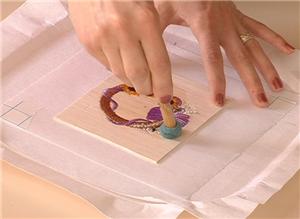
10:
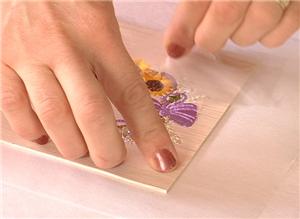
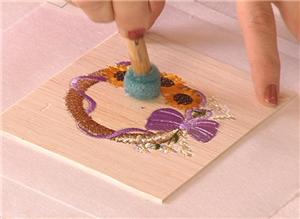
Slowly tear the topper away, one layer at a time. Add water to dissolve any remaining bits of water soluble topper.
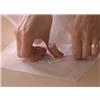
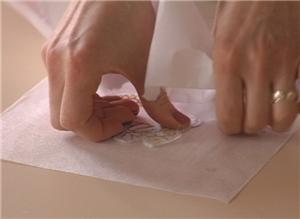
11:
You can also tear the backing away. Keep the wood flat against a hard surface, and tear way one layer of the backing at a time.
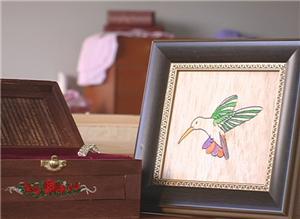
12:
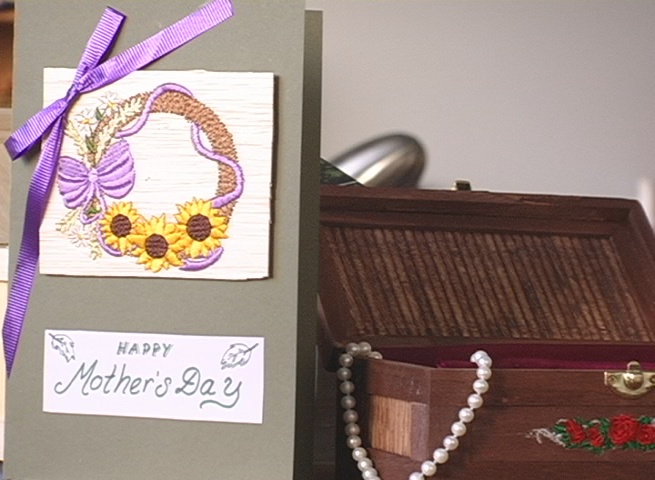
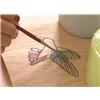
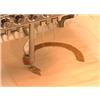
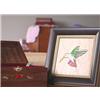
Once your wood embroidery is finished, you can choose how to display it. Glue it to a greeting card, box, or simply display it as a work of art itself.


 Sunflowers, wreath
 Redwork Hummingbird
 Wedding Rings
 Hemingworth Super Solv - Cold Water Soluble Film - 12 in X 11 yds
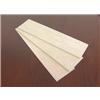 Balsa Wood 1/16 x 3
 Medium Spouncer 1-1/4" Diameter Sponge
 Printing Production Sheets
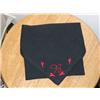 Placement Marking
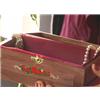 Jewelry Box
 Mother's Memory Boxes Video Demonstration